I have made scones before but they always lacked something. It wasn't fluffy and moist like the cafe's and they were always flat. So I trawled the Internet, looking for a recipe that met the LaLa Kitchen criteria - minimal yet accessible ingredients and lo' and behold I found my recipe which is a variation to the Country Women's Association recipe. Before attempting this recipe yourself, I would suggest you read this recipe in its entirety, including the Notes and Variation at the bottom as the baking of scones requires a bit of love and care on your behalf.
Makes approximately 8 | 30 minutes
Ingredients
2 cups self-raising flour
1/4 teaspoon salt
75mL thickened cream
2/3 cup buttermilk
1. Pre-heat your oven to 220⁰C and line a tray with baking paper. Then sift your dry ingredients into a bowl.
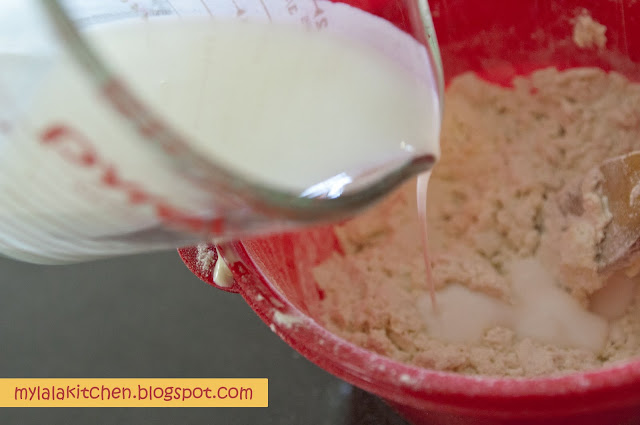
2. Make a well in the centre of your bowl of dry ingredients, pour in the thickened cream and mix. Then bit-by-bit add buttermilk to the bowl, mixing it in before adding more.
3. After step two you should have a sticky, yet soft dough. Now, create a floured bench surface to work with the dough.
4. Work the dough quickly yet gently to shape into a rectangle shape with a thickness of no less than 3cm. Then using a cutter, create your scones and line them close together on the lining tray to enable them to rise high.
5. Lightly brush the top of the scones with a bit of butter milk before putting into the oven.
6. Bake the scones for approximately 15 minutes or until golden brown and serve immediately with jam and cream.
Notes and Variations
I mentioned earlier that I had made scones in the past and there never quite up to my expectation. While trawling through various scone recipes I picked up what I think are some key pointers to achieve the perfect scone.
Firstly, do not over-work the dough as you risk reducing the fluffiness of the scone and it goes hard. Avoid the rolling pin; if possible, use your hands, and work with your scone dough only when necessary. Placement of the scones on the baking tray is also influential, as keeping the scones close together while baking allows the scones to rise higher than if they were separated. Bit of peer pressure happening there! Cutting is also important, ensuring that you use a sharp cutter and not the rim of a glass to create a circle shape. Finally, take note of the thickness of your dough just before cutting. Too thin and you have a scone that will barely rise; too thick and you will have a scone that might not cook through, unless you like the semi-cooked type.
By taking in these notes, you will have the most sumptuous scones to chow down for breakfast or afternoon tea. You can add other ingredients such as fruits (sultanas or blueberries) or even chocolate to spice up your scones. However I like mine the traditional way, with a cup of tea. Enjoy!


No comments:
Post a Comment