Labels

Showing posts with label Kids. Show all posts

Thursday, September 1, 2011

Buttermilk Pancakes with Strawberry Sauce

I will not lie; I couldn't get the consistency of my pancakes right at first. It took me a fair few goes to get the pancakes how I wanted them and when I got to that stage, it was delish! I got the kids to hand-mix the batter and they got to enjoy this sweet breakfast one fine Sunday morning.


Serves approximately 4 | 30 minutes
Ingredients
11/cups water
11/4 cup caster sugar
1/teaspoon bicarbonate of soda
1 cup self raising flour, sifted
11/cup buttermilk
1 egg
1 punnet of strawberries
olive oil cooking spray
cream or low fat yoghurt to serve 

1. Dice your strawberries and mix with 1/4 of caster sugar.


2. Put your strawberries and sugar in a saucepan with the water on low heat to dissolve the sugar. When dissolved, increase the heat and bring mixture to the boil. Once boiling, reduce the heat to low and let it simmer again on low heat until the strawberries soften. Set aside.


3. Combine remaining sugar, bicarbonate of soda and flour in a bowl.
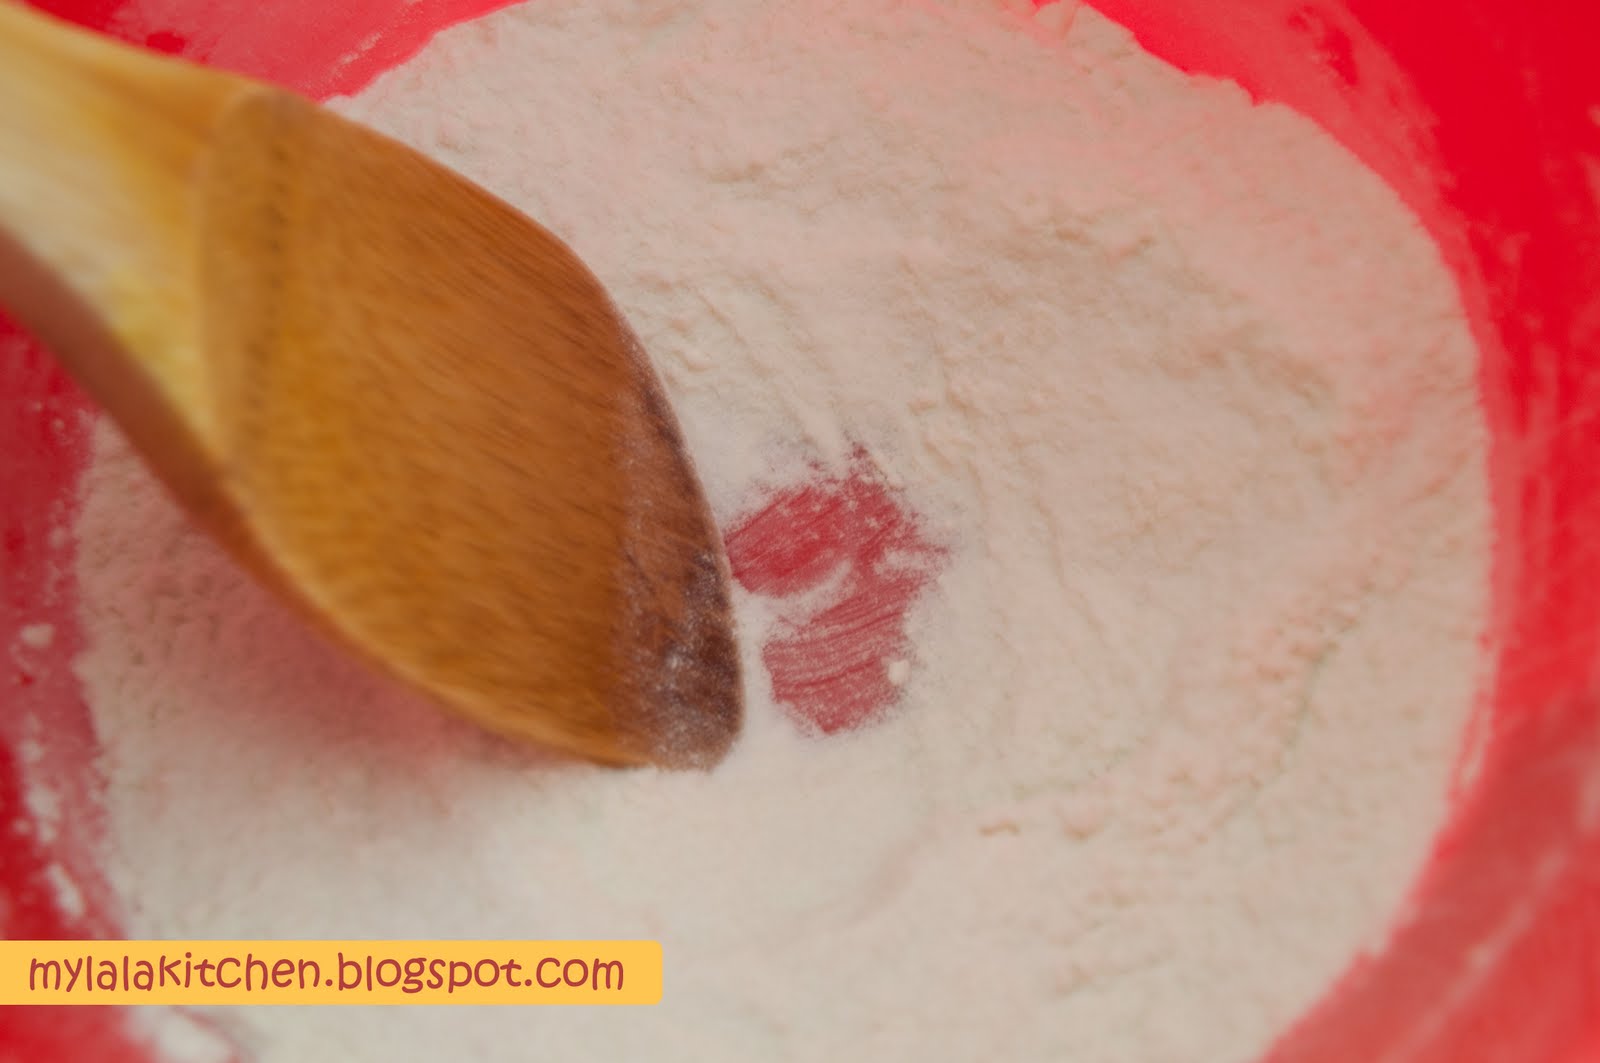

4. Whisk buttermilk and egg and stir into the flour mixture.


5. Heat frying pan on medium heat.  Spray with oil and pour 2 tablespoonfuls of batter into the pan. Cook for 3 minutes or until bubbles form on the surface. Turn.


6. Cook a further 1-2 minutes or until cooked through. Do again with the remaining mixture.


7. Stack how ever many pancakes you think you can eat and top with the strawberry sauce and yoghurt or cream.


** Original recipe from Taste.com.au **

Sunday, August 28, 2011

90 Second Nutella Chocolate Cake

When my sister showed me this recipe I just *had* to try it. I'm sure everyone can relate to those times after dinner where you think, 'I could really go for some cake right now' but can't be bothered baking? Well this recipe is just perfect for those occasions; you can cook cake less than it takes to make 2 minute Maggi noodles. And not only is it great for satisfying those random cake cravings, but the serving is just right for two (a small serving for two or a massive serving of one depending on how bad you want cake) and it is SO easy for the kids to do too. Can you believe it took longer to write this blog than it did to make the cake? 


Makes 2 small serves or 1 decent serve | Less than 5 minutes
Ingredients 
2 tablespoon Nutella, extra for topping
1 egg, beaten
1 heaping tablespoon flour
1/2 teaspoon baking powder
1 teaspoon cocoa powder
1 tablespoon brown sugar
A dash of milk for the topping


1. Put all the ingredients (except for the milk) into a bowl and mix, ensuring there are no flour lumps.


2. Grease a big microwavable bowl or two small bowls (like ramekins) and pour the batter into it. 


3. Place one bowl in the microwave on medium power for 80 seconds and then check for fluffiness. When you are happy with the result, warm up extra nutella and mix with milk to get a runny chocolate to pour over your cake.


Notes and Variations
Now I must emphasis that the '90 second' bit to the title of this recipe is a variable; the power of your microwave, as well as how soft you like your cake, is going to determine this value. When I made this recipe, I was using a 1200 watt microwave so when I mention the timing of zapping this cake into the microwave, please adjust it accordingly to your microwave. 
While the recipe title does say 90 seconds, I didn't like the consistency of the cake when cooked for that long. So it took me a couple of goes to get it to the consistency that I liked, which is what I have written in the recipe. The original recipe, and others like it, did say it would take a few goes before you had something you were happy with. 

** Original recipe from Back to her Roots blog **

Wednesday, August 24, 2011

Quickie Quiche

This recipe was made by request from my husband who loves quiche. Now the only experience I've had with eating quiche are those frozen party quiches. I've never tasted a fresh quiche, let alone made one, so this was going to be quite the experience for me. Going through a few quiche recipes, I opted for the pastry-less version because I often find I don't have such an item in my freezer. I think this would be great for those nights when you really can't be bothered making dinner, yet you also don't want to settle for greasy take-away that you know you're going to regret later. So this is my Quickie Quiche recipe, which is so easy that the kids could probably make it too!


Serves 6 | 45 minutes
Ingredients
4 eggs
125g grated cheese
125g chopped bacon
100g sliced mushrooms
1 onion, finely chopped
½ cup self raising flour
1½ cups milk
1 tablespoon parsley
Spray of olive oil

1. Preheat your oven to 180°C and line your tray (quiche, baking or cake) with grease or baking paper. Dice your onions and slice your mushrooms.


2. On medium heat, fry up your onions and bacon until reasonably cooked. Then add mushrooms.


3. When mushrooms are semi-cooked, transfer the onions, bacon and mushrooms into a bowl.


4. Add the remaining ingredients into the bowl and mix through. Once thoroughly mixed through, transfer onto your baking dish.


5. Place into your oven to cook for approximately 30 minutes or until set. The top of the quiche should be lightly golden at the top. Let it to slightly cool and serve.


Notes and Variations
What I love about this recipe is its versatility; remove the ham to make it a lovely vegetarian dish, or add more vegetables for more content. You could also pour this mixture into greased muffin tins to create 'baby quiches' for parties or purely for defining serving size. See what I mean about the versatility? 
Finally quiche can be enjoyed warm or cold but remember because of the egg and milk ingredients, I tend to make sure its eaten within 24 hours of making (I know I'm a bit narky about these things) but with my son having now discovered the joy of quiche, I don't think I'll be having much difficulty ensuring it gets eaten. 

Monday, August 22, 2011

Strawberry and Nutella Pop Tarts

I'll be honest with you; I've never tasted a packaged pop-tart, like the ones you get at the supermarket. So while I can't really compare, I could probably assume that being freshly made, this pop-tart would taste a million times better and fresher than the packaged product you would buy. What really appealed to me about this recipe was the little ingredients used and Nutella, because everything is just a million times better when Nutella is involved, so I thought I'd give this recipe a go!


Serves 5 | 30 minutes
Ingredients
2 sheets of puff pastry
1 punnet of strawberries
2 tablespoons of Nutella
2 tablespoons chocolate bits

1. Preheat your oven to 180C and line a baking tray with baking paper. I like to spray a bit of oil on the baking paper to get the base of the pop tart to be golden and crispy. While your oven is pre-heating, dice your strawberries.


2. Cut your puff pastry into six (roughly sized) rectangles


3. For three of the six rectangles, spread Nutella and place strawberries on top. Make sure you do this in the centre of the rectangle.


4. Seal your pop tart by placing another cut rectangle puff pastry (the remaining three of six) on top of the filling and seal the edges with the fork and placing a small air hole at the top of the pop tart. 


5. Place your pop tarts on the baking tray and bake for approximately 15 minutes or until golden brown. 


6. In the mean time, melt your chocolate bits and any remaining Nutella spread in the microwave for approximately 45 seconds on medium high heat. Place it in a plastic sealed bag, cutting a small bit of the corner off, to make a makeshift piping bag. 


7. When the pop tarts are cooked to your liking, place them on a cooling rack and drizzle with chocolate using the piping bag in step six. Serve up with your favourite coffee or tea. 


Notes and Variations
Don't feel limited to using strawberry and Nutella as a filling for your pop tarts. Blueberries, raspberries, cream chesese or honey could be used too.

** Original recipe from Savouring the Thyme's Nutella Strawberry White Chocolate Pop Tarts recipe ** 


Monday, August 8, 2011

Banana and Walnut Loaf

This Banana and Walnut Loaf recipe is so simple and so delicious! This recipe is a family favourite during winter, but I find I don't ever get complaints when I make it other times of the year. Slice it up and enjoy with melting butter.


Makes 1 Loaf with 8 servings | Less than 60 minutes
Ingredients
2 bananas
2 teaspoons gold syrup
¾ cup sugar
1 egg
1 cup self-raising flour
pinch of salt
½ cup crushed walnuts

1. Pre-heat the oven to 180⁰C. In a bowl mash bananas and golden syrup together.


2. Add egg, sugar, sifted flour, crushed walnuts and salt and mix until combined well. When everything is mixed well, you should get a nice smooth batter.


3. Grease and line your loaf pan. Pour the batter into the pan and let it bake in the oven for 30 minutes, or until a skewer is inserted in the middle of the loaf and it comes out clean.


4. When cooked, allow to cool in the tin for 10 minutes, then turn onto the wire rack to cool.


Notes and Variations
I love the crunch the walnuts gives in this banana loaf. However you can substitute walnuts with other delicious things like fig, chocolate ricotta, sultanas, blueberries or pecan nuts just to name a few.

Cozy Banana Choc-Chip Muffins

I had two overripe bananas that I needed to use but didn't want to make something that would go to waste. This recipe ticks all the boxes when it comes to making the most of left over food items, like my bananas, using common pantry items and makes enough for a single or , at most, two helpfuls. If you need to make more, all you've got to do is double the quantity. These banana choc-chip muffins are a beautiful accompaniment to your cuppa and its kid-friendly, which is always a bonus!


Makes approximately 6 muffins | 30 minutes
Ingredients
2 ripe bananas
1/cup melted butter
3/4 cup sugar
1 egg
1 tablespoon vanilla essence
1 teaspoon baking soda
Dash of salt
1 cup plain flour
1/cup chocolate bits

1. Pre-heat your oven to 180⁰C. Put the peeled bananas in a mixing bowl and smash them with a potato masher and mix in the melted butter.


2. Add the sugar, egg and vanilla essence to the mix, followed by the baking soda, salt and flour. When all mixed, you should have a nice thick batter.


3. Grease and/or line your muffin pan with cases. Spoon the batter in the cases, filling it up to three quarters of the case so there is room for the muffin to rise. I also add a few chocolate bits on the top of the batter, but that's optional.


4. Bake the muffins in the oven for about 20 minutes, or until a skewer comes out clean from the muffins. Leave to cool on a wire rack until the aroma of the muffins gets to you and you have to eat them!


Notes and Variations
You can make this recipe a lot more healthier by partially or entirely substituting the flour with whole wheat flour. The choc-chip component is also optional in this recipe but I find it goes well so nicely with the banana in a muffin size, and its also my way of enticing the kids the eat it. Banana goes great with other things, such as walnuts, oats, peanut butter, or other fruits, which you can use to substitute the choc-chips. Enjoy :)


Friday, August 5, 2011

Home Made Sausage Rolls

I cooked these after serving dinner and the family chowed them down! Great for parties or even as a snack when watching the footy, everyone loves home-made sausage rolls and you cannot go wrong with this simple recipe.


Makes approximately 30 mini sausage rolls | approximately 30 minutes
Ingredients
1 carrot
1 onion
1 teaspoon of dried parsley
2 tablespoon Worcestershire sauce
1 cup bread crumbs
500g sausage mince
2 ready-rolled puff pastry sheets
2 egg yolks
salt and pepper to season
sesame seed to sprinkle

1. Preheat oven to 180⁰C. Peel carrot and onion and place in the food processor to be finely diced or pureed
.

2. Combine one egg, mince, breadcrumbs, Worcestershire sauce, salt and pepper with the carrot, onion and parsley. Then combine the entire mixture into approximately 4 batches.


3. Cut a sheet of puff pastry into two and place a portion of the mixture onto the cut pastry into a roll shape lengthwise. 


4. Beat the remaining egg and use it to brush the pastry on each side of the sausage meat mixture. Enclose the roll with the pastry, placing a tight seam underneath to seal the meat inside the pastry. 


5. Cut the sausage roll into thirds (or according to your desired size) and place a baking paper-lined tray. Brush the top of the cut rolls with egg and sprinkle with sesame seeds.

6. Bake the rolls in the oven for 20 minutes or until golden and cooked through. Serve while hot. 


Sunday, July 31, 2011

Nigella Lawson's Cupcakes

For my sister-in-law's baby shower, I was responsible for making cupcakes for her guests. I wanted to make something sweet but not overbearing, simple yet cute. So I turned to the queen (in my eyes) of baking, the divine Nigella Lawson.


Serves 12 | Ready in 20 minutes
Ingredients
125g self-raising flour
125g caster sugar
125g soft unsalted butter
2 eggs
Half a teaspoon real vanilla extract
2 tablespoons milk
1 packet instant royal icing
1 x 12-bun muffin tin with 12 muffin papers


1. Preheat the oven to 200⁰C ab and line the tin with the muffin cases. 

2. Put all the ingredients, except for the milk, in the processor and then blitz till smooth.

3. Pulse while adding milk, to make for a soft, dropping consistency, down the funnel. 

4. Spoon and scrape the batter into the muffin cases.


5. Put in the oven and bake for 15-20 minutes or until the cupcakes are cooked and golden on top. As soon as bearable, take the cup cakes in their cases out of the tin and let cool, right way up, on a wire rack.

6. To achieve a flat-top cupcake, I cut off a portion of the top of the cupcakes when they had cooled down. Don't throw away the muffin tops though - they were great to munch on while continuing the recipe ;)


7. I was a bit short on time so I resorted to packet fondant icing and food colouring to decorate the cupcakes.  I followed the packet instructions of Orchard's White Icing packet.


8. For a finishing touch, I used sugar roses. :)


** Original recipe from Nigella Lawson's Cupcakes Recipe **